


 Bug
Bug
 Karmann Ghia
 Bay Bus
 Vanagon
 Eurovan
 Transporter T5
 Rabbit Mk1
 Golf Mk2


 911
911
 996
996
 997
997
 986 Boxster
 987 Boxster
 912
912
 944
944
 924
924


How to change VW Eurovan starter motor
As enthusiasts ourselves, sometimes a job will come up on our own vehicles that make sense to share and write about. This was one of those times. I'm fortunate to use my Mum's T4 campervan from time to time (you may recognize it from our T4 Eurovan buyer's guide) but it desperately needed a new starter motor. Bump starting it off the campsite to get home the other day was the final straw... Read on and I'll run you through what to do.
How to tell if you need a new starter motor?
If your vehicle has plenty of battery power, but only makes a clicking noise when you turn the key, you probably have an issue with your starter motor* or the starter motor solenoid. The quick get-me-home fix is to tap the starter motor body with a hammer or wheel brace which will often bring it back to life. You could also push start the vehicle downhill as I did, but the best plan of action is to fit a new one. These days solenoids aren't replaced on their own, and whilst you could spend hours trying to rebuild the old one, a new replacement is the most efficient way to remedy the problem.
*If nothing happens when you turn the key (and you know you have power) it is likely the ignition switch is faulty, and you'll need to tackle this issue first. See our blog about the starting problems here.
Fitting your new Eurovan starter motor
Naturally, I turned to our website and found a new Eurovan starter motor here. Produced by FORST, it's listed as top quality and is suitable for all manual transmission models. It's worth noting that the design is 'self-supporting' which means there is no need to change or install a bush into the gearbox housing, making the job a little bit simpler.
1. Get access to the old starter
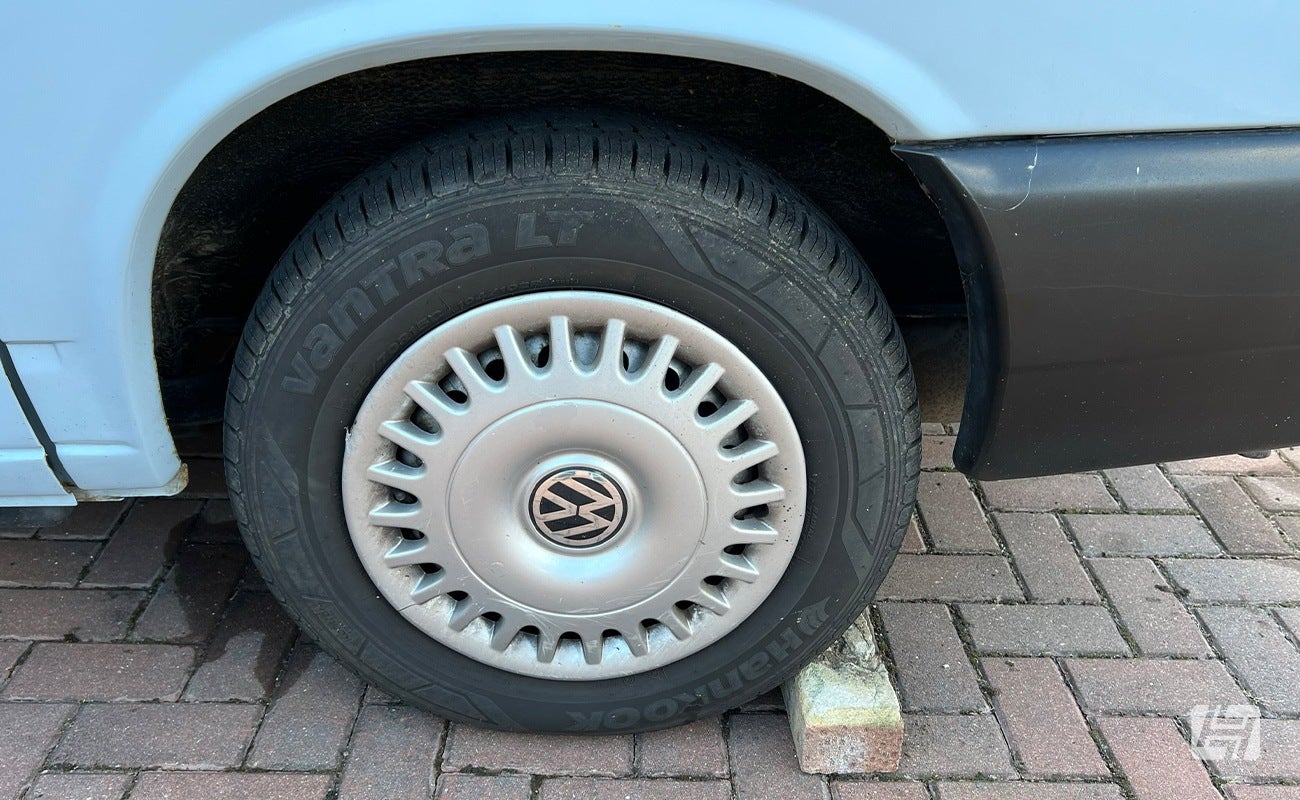
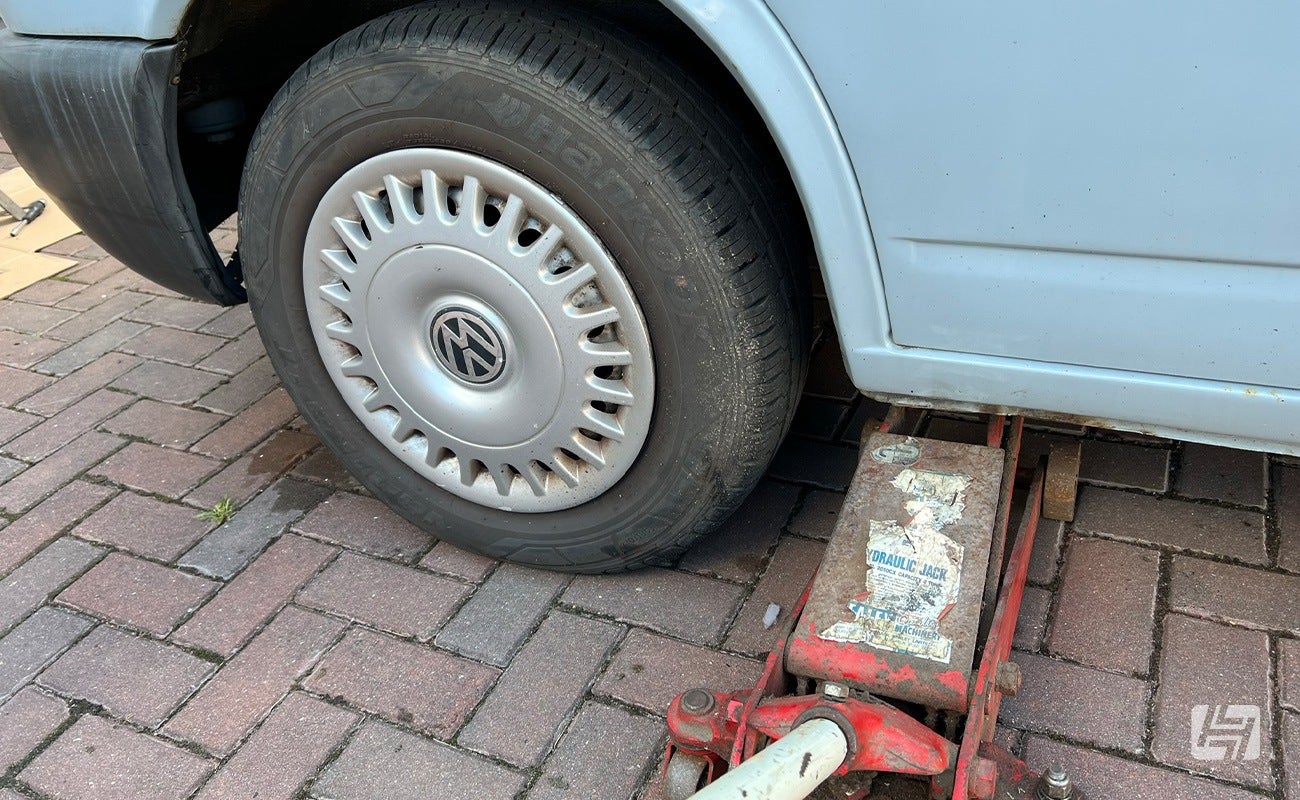
For comfort, you will want to lift the front of the vehicle to give yourself room to move underneath. Although the handbrake works well, an additional wheel chock is a sensible choice before lifting the van with a trolley jack. Avoid using the supplied 'widow maker' scissor jack unless you really have to!
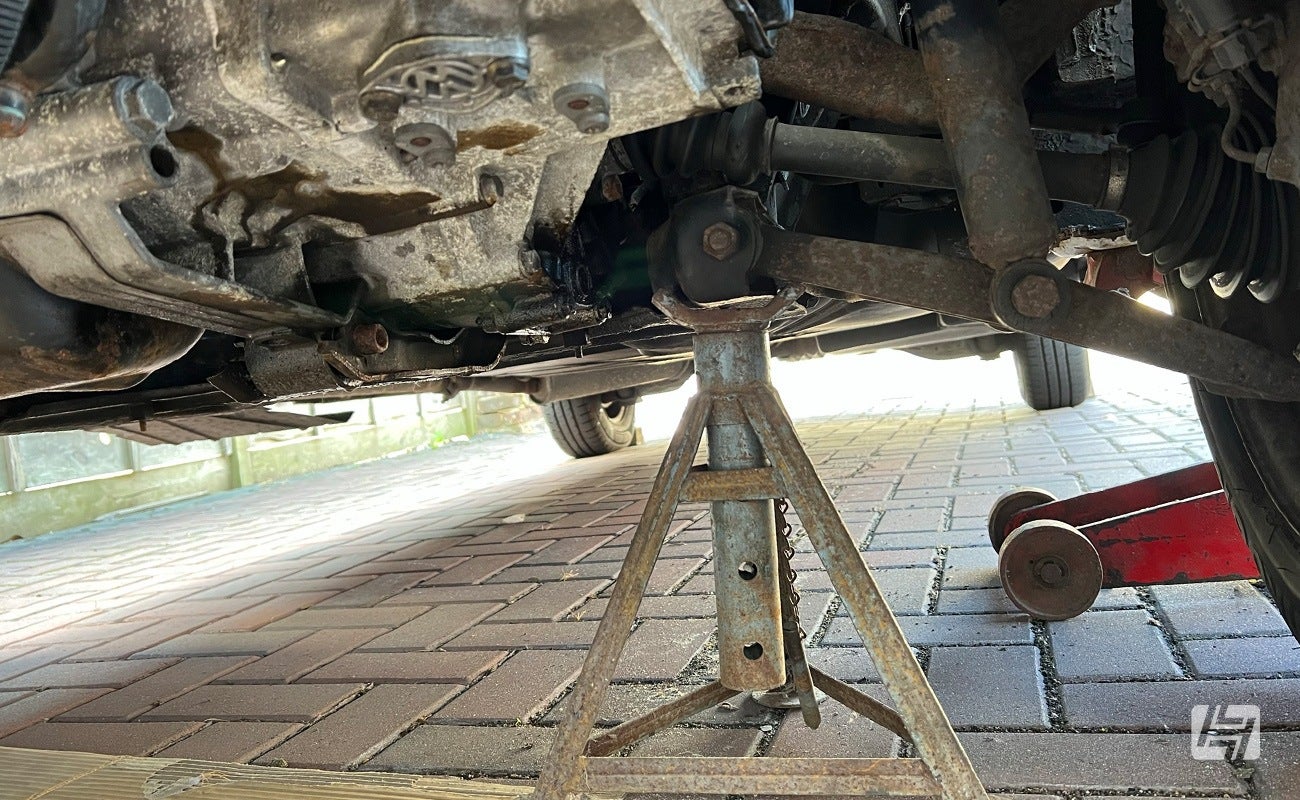
Once elevated, add some additional support from an axle stand under a non-moving part such as a suspension mount, to keep you safe should the jack go down slightly or worst case fail.
I was fortunate that the undertray was already removed on this van, but if your van has this fitted you will need to undo the bolts and unhook it to remove it. It's quite large, awkward, and heavy, so an extra pair of hands will be of use.
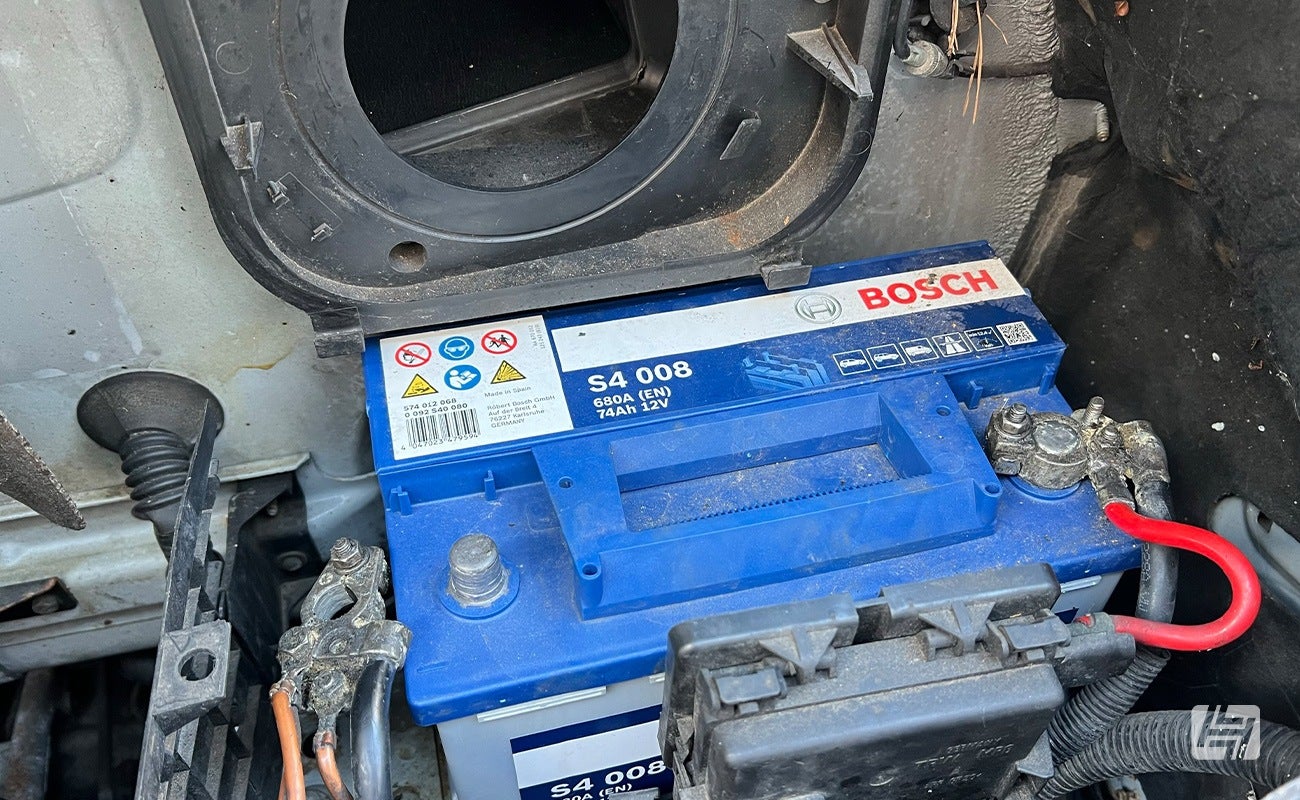
From under the bonnet, you will need to remove the plastic panel above the battery, including the pollen filter housing to gain access to the battery. These are nice and easy, with a twist clip on the first and a couple of metal spring clips on the housing. These bits cleverly slot together, so take note of that when it won't go back together afterward and you are trying to force something.
There's no need to remove both cables from the battery; the earth will suffice to ensure no power will be flowing around the vehicle whilst you work.
2. Removal of T4 starter motor wiring
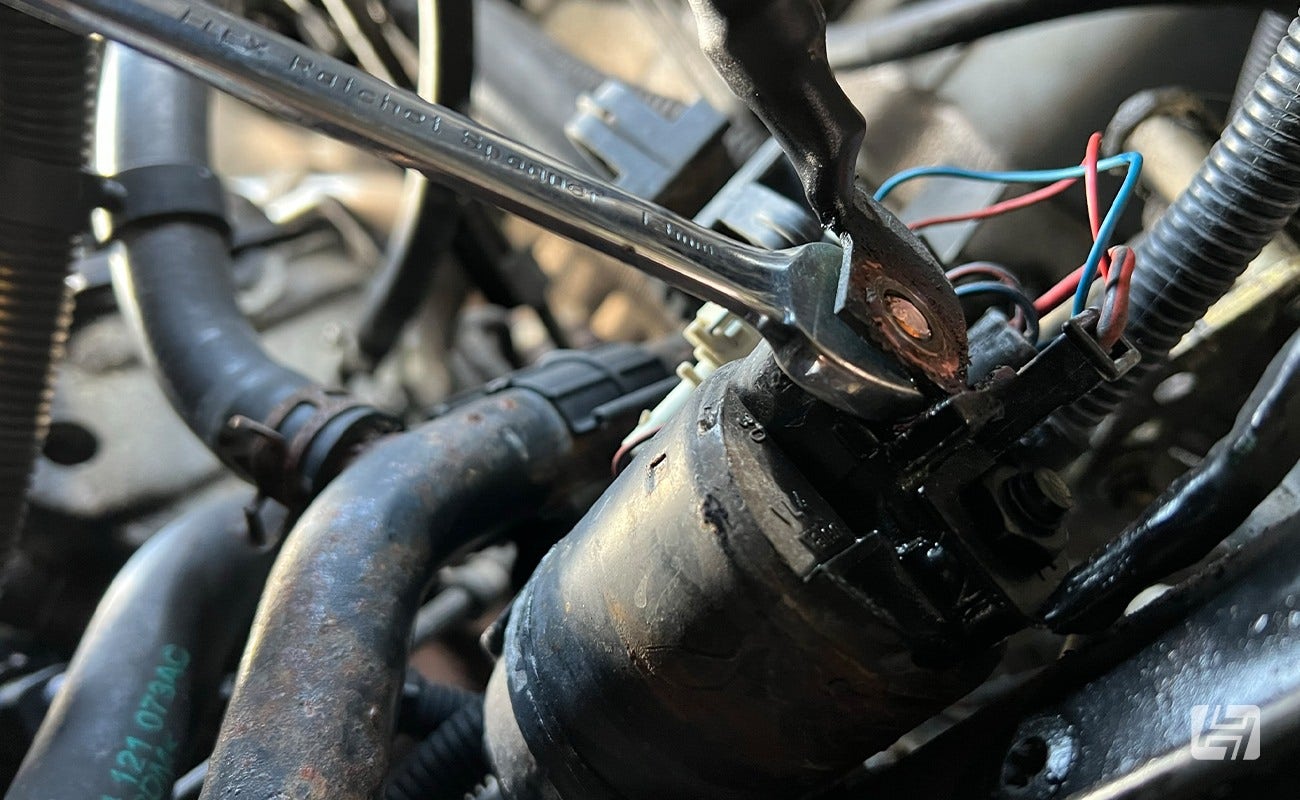
With the area safe to work and all possible obstacles out of your way, you are ready to disconnect the power and switch cable from the old starter. The thick power cable is best accessed from below and can be removed with a 13mm spanner or socket. The smaller signal wire is removed from above by pinching the black plastic clip and wiggling it off.
My van had an OE-supplied plastic wire holder that simply slotted over the top of the solenoid to hold the wiring out the way of the gear shifter mechanism to the rear and the fan at the front. Carefully unclip this and take note of which way around it fits.
3. Undoing the starter motor bolts
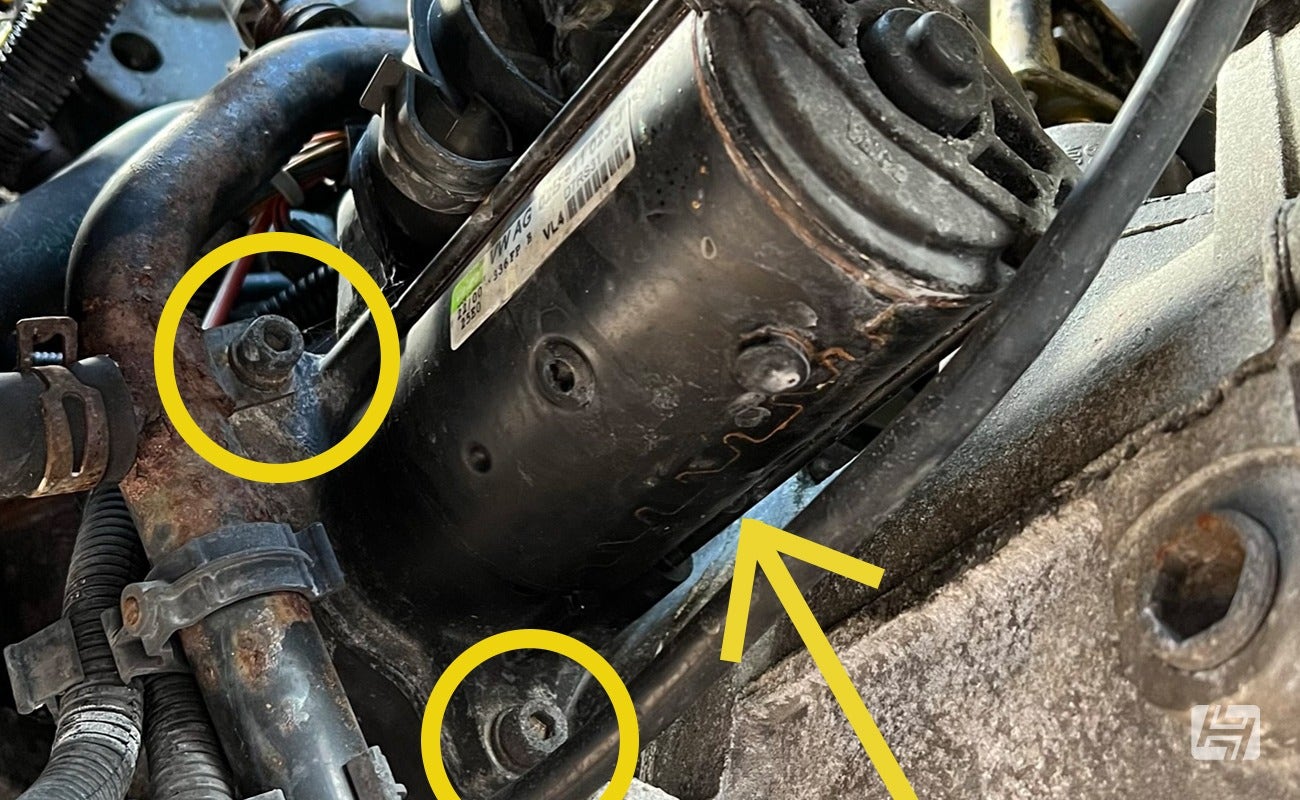
The T4 came with three hex-headed (Allen key) bolts securing the starter motor to the gearbox housing. You'll want an 8mm Allen key, ideally on a socket and rachet to get enough leverage to shift any stubborn bolts. A squirt with your favorite penetrative oil may offer some additional assistance.
The lowermost bolt is the easiest to access and only passes through the starter motor into the gearbox case. The second lowest is also accessed from underneath but importantly also holds a bracket for the metal water pipe on the outside of the starter motor housing. The last of the three is a little trickier, but shouldn't be as corroded as it's much higher up in the engine bay. This one has a bracket for the metal water pump too but that is sandwiched between the case and the starter motor housing.
Before undoing the final bolt completely put something to potentially catch the old starter motor should it fall. I chose the new FORST box as I had it close by.

4. Wiggle it free!
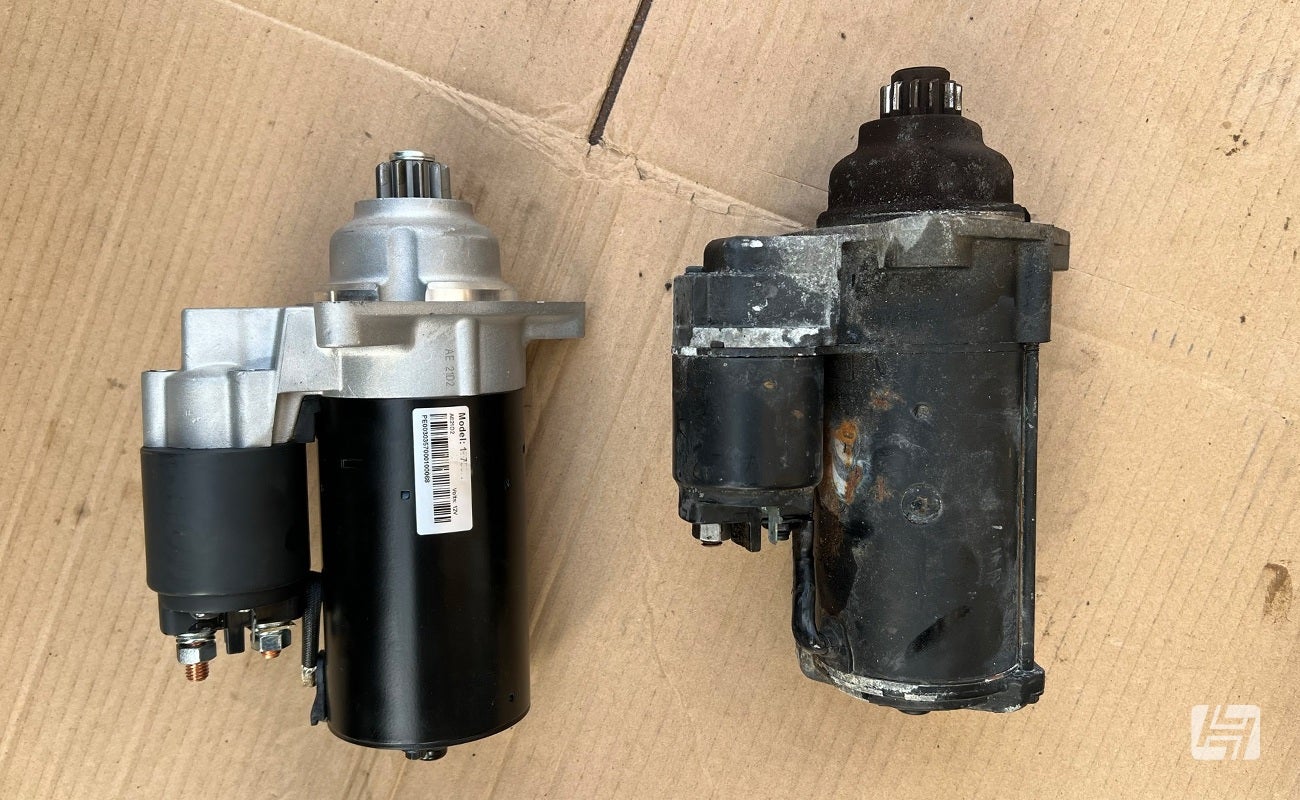
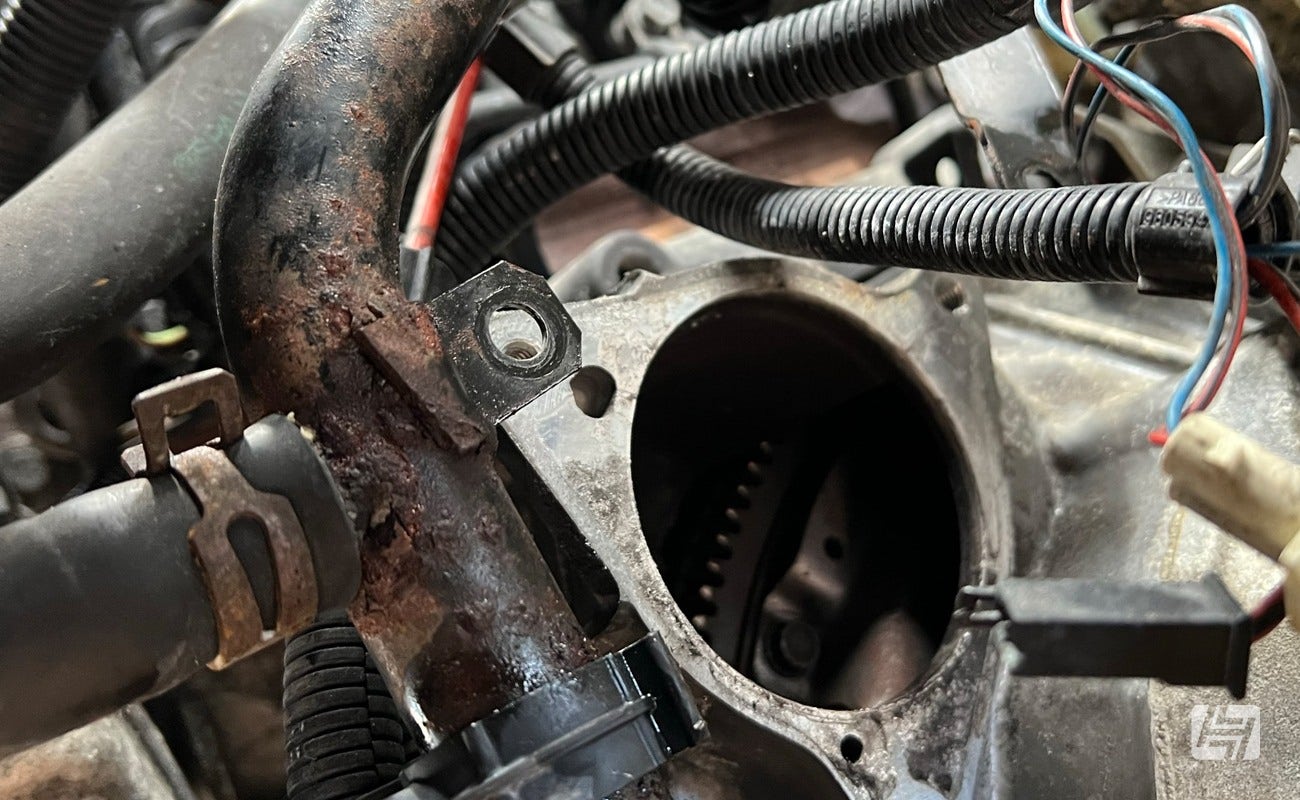
You're now ready to slide the old one out from underneath the van. My old starter needed a small amount of encouragement and I had to pull the metal water pipe slightly out the way to release it. You'll spot the toothed flywheel inside the 'hole' - this is what is driven by the starter motor when it spins, making your engine turn over and start. Eager eyes will also notice the edge of the Eurovan clutch that is bolted to the flywheel too.
Before jumping straight in with the new one it made sense to do a quick visual inspection to ensure the supplied part had the same fittings and was of the same style. The good news was it was a perfect match.
5. Fitting the new Eurovan starter motor
Unlike the infamous "refitting is the reverse of removal" cliche here are a few words of advice for fitting the new one back in. I found fitting the lowest bolt in place first, was best to take the weight - finger tight will do to start with, then tighten fully when all 3 are in place. Then from above I could tackle the bracket which needed sandwiching in place before installing the third bolt, making sure to hold the water pipe bracket in position at the same time.
The power and signal wires can be installed nice and easily, and the plastic clip-on wire holder can be refitted.
The battery can be reconnected, and you can lower the van to the ground for a test run, before putting the cabin filter and remaining plastic trim back in place providing it all works as it should.
Lastly, remove the wheel chocks, give yourself a pat on the back and go for a drive... It really was that simple. Time-wise, you should easily get this done in a few hours unless any unforeseen complications arise.
Andy