


 Beetle
 Karmann Ghia
 Type 2 Split
 Type 2 Bay
 Type 25
 Transporter T5
 Golf Mk1
 Golf Mk2


 911
911
 996
996
 997
997
 986 Boxster
 987 Boxster
 912
912
 944
944
 924
924


Top five classic car door seal and window rubber fitting tips
Whether you own a freshly painted restoration project or a sunburnt car with original paint, new window and door rubbers will be on your shopping list. Guaranteed. However, knowing what to buy and how to fit them can be cause for a serious headache, so here are our top five classic car door seal and window rubber fitting tips.
Can I reuse my old window rubbers?
Whilst it is possible to reuse old rubbers we certainly wouldn’t recommend it. Rubber dries out and shrinks over time, plus there’s the possibility it may have been damaged when it was removed. Replacement window seals not only provide peace of mind, they’re also the perfect finishing touch to a resto project. Added to this, they’re a must-have for any survivor car from a warmer country. Whilst US imports tend to have fewer rust issues than European classics, they won’t stay that way if you leave them fitted with the dry, cracked and sun-baked seals they usually come with.
What happens when water gets in my car?
A quick squirt with the hose pipe or leaving a car outside in the rain will soon reveal to you how badly new seals are required. When water creeps inside any car it works its way into the nooks and crannies and lowest parts of the vehicle until it finally exits via rust holes of its own making. We’re talking door bottoms, floor pans, parcel shelves and behind the rear seats to name but a few of the common rot spots. Take it from us, a full set of replacement door and window seals might seem expensive, but they are actually far, far cheaper than replacing rusty sheet metal. As the owner of this Porsche 912 found out who now needs a new rear 911/912 parcel shelf and 911 / 912 rear seat wells.


What should door seals and window rubbers should I buy?
That depends entirely on your car and budget. You might get away with replacing just a few bits and pieces at a time or you could end up having to replace absolutely everything in one hit. Examine all of your rubbers in detail and be on the lookout for cracks, splits, damage and any missing pieces of trim. Any of these faults will allow water into your car and are grounds for replacement. Excessive wind noise and whistling whilst driving are a strong indication of damaged or shrunken rubbers. As is being able to see daylight through the door shuts. If you notice any of this it’s time for a replacement. If you need a number of different seals, check out our extra value kits as a great way to save on the cost of restoration work.

How to fit replacement window rubbers?
A lot of people are scared of changing window rubbers but you needn’t be. Classic car glass is tougher than you think so can usually stand up to a bit of gentle persuasion. That said, you need to exercise a little common sense, wear the appropriate safety gear (gloves and eye protection) and it will help if you read these top five seal fitting tips before you start. If you’re replacing something like a VW Beetle door scraper you’ll need to remove a few items to get to it. For example, the door and window handles and interior panel. You’ll also have to drop the glass down out of the way or remove it altogether in order to remove the long felt window seal so you can remove the actual scraper piece.
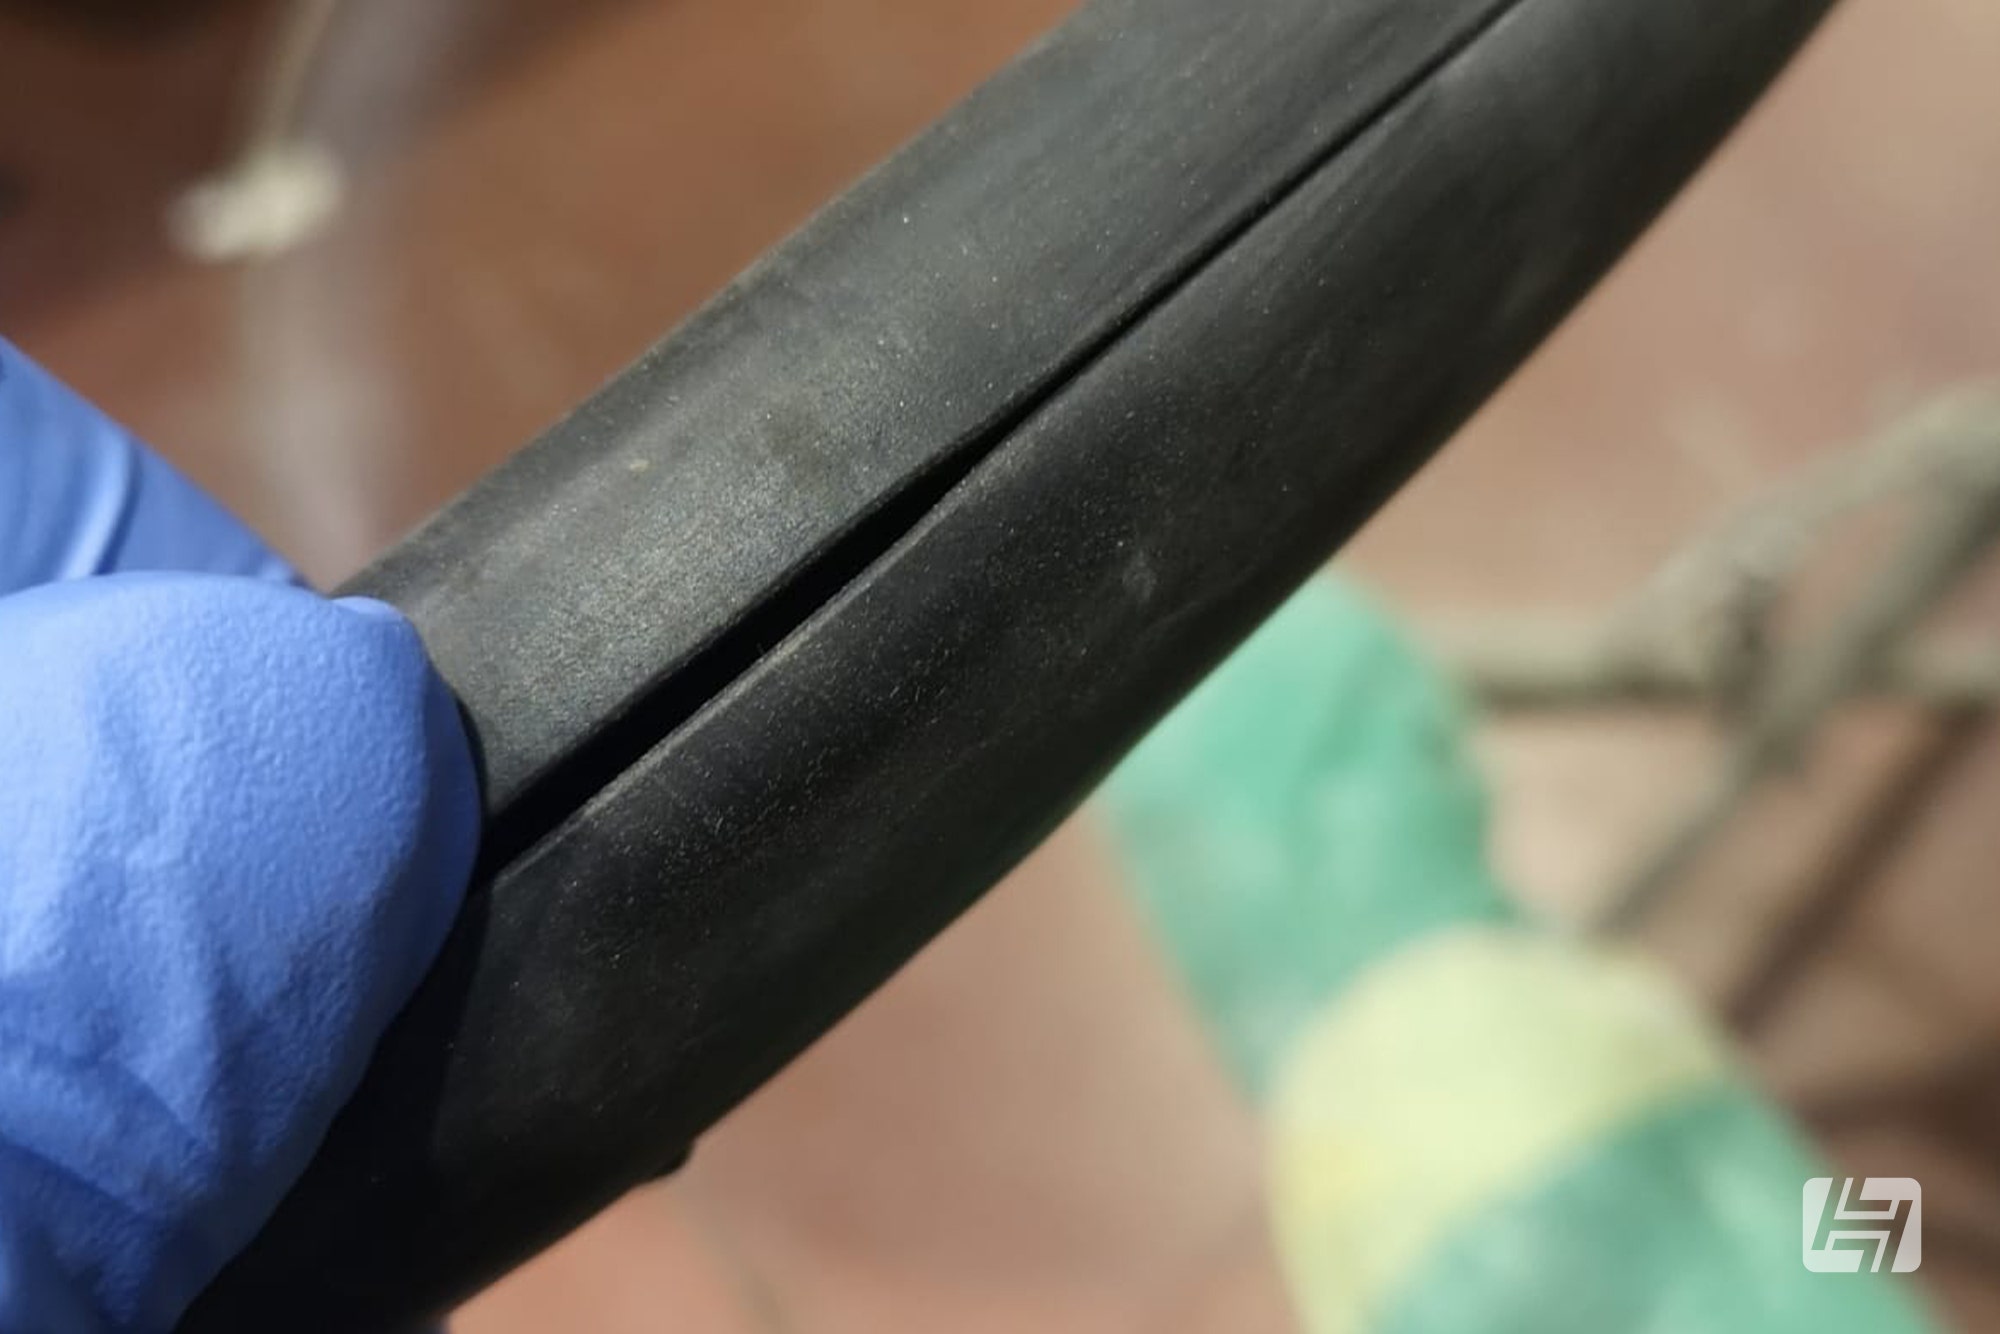
1. Check your new window seals against the originals
It’s always a good idea to compare replacement items against those that came off the vehicle. Beetle door scrapers often perish like this and allow water in. This eventually leads to rusted-out door bottoms. Holding a new scraper against one that came off the car we could see the replacement piece lacked the screw holes that held the original item in place. We used the old scraper as a template and drilled holes in the new one, which also had fewer fixings along the bottom edge so we removed these from the old scraper and added them to the new one.


2. Preparation is key - get your rubber ready
Some window rubbers like this Bay Window Windscreen Seal have moulded corners so lay the rubber on the glass to check the orientation prior to fitting. Never try to force anything when working with glass. You might exert too much pressure or slip and the results could be both costly and dangerous. Warm rubbers are also easier to manage, so to make them more flexible and more likely to slot into place, work in a warm environment and if necessary either leave rubbers to warm in the sun, place them on a radiator or soak them in warm water before you start.

3. Be methodical - take your time
Window rubbers for fixed panes of glass like front and rear windscreens have a number of grooves so you need to work out which is which. There’ll be one for the glass to slot into, one that fits the vehicle itself and sometimes another for the exterior trim. Once you’ve figured out which is which you need to spread the rubber to open up the glass channel. Work the glass into the channel starting from the corner. It’s easiest to bend the rubber back on itself and push it onto the glass at a 90-degree angle. You’ll then need to feed a good length of heavy gauge wire or cord into the rubber to fit it to the vehicle. You want something that is strong enough so it doesn’t snap but won’t tear the rubber. In this instance, we opted for a sash window cord and used enough so we had a good amount of cross over. Leaving enough to wrap around your hands, and wearing gloves will give you extra purchase when the time comes to fit it.

4. Lubrication - your rubber will need some help
You’ll need some form of lubricant to help mount the rubber seal to the vehicles’ body. Some people recommend using a silicone spray, others say glass cleaner or even plain old water will suffice but definitely don’t be tempted to use anything like oil/WD40 as it will make for a sticky mess. Washing up liquid is also a big no-no as it contains additives that can lead to corrosion in the apertures.

5. Don’t try this alone - Fitting a Windscreen
Whilst it is possible to fit some glass on your own you really should enlist the help of someone to lend a hand and always when fitting something large and heavy like a Bay Window Windscreen. You need a safe pair of hands to hold things in place on the outside whilst you work on the inside or vice versa. To install a windscreen you first need to place it into the aperture. It needs to be centralised and pushed in as far as possible using the edges of the glass. Do not apply pressure to the centre of the glass. The person on the outside supports the glass whilst the person on the inside pulls on the cord until it eases the seal over the lip of the vehicle. Try to pull the cord up and then along as you go. A few tactical taps with the palm of a hand along the outside of the rubber can help seat it in the aperture. Work in both directions, one at a time and if it looks like it's going to cock you might need to jump out and manipulate the seal into place from the outside with your fingers before returning to the cord. Once the seal is lipped over you should be able to push and tap the glass further into place. With the glass in position, you might find areas where the seal looks like it’s tucked under. If so, a plastic spatula can be used to tease it back out again.

We hope that this guide will give you the confidence to tackle some window seal or door rubber jobs yourself, or at least understand the process a specialist will need to undertake to fix the issues for you. Best of luck.
James / Andy